You painted what? You're darn right I did!
So what's a girl to do? Well, I'll tell you, but let me back up first.
For whatever reason, we decided that the middle of a massive renovation was a really good time to get a new television. It's not like we didn't need one (we were still firmly rooted in the massively-heavy-very-much-not-at-all-flat-screen era), but you would think we'd be thinking of other things. I left the television and sound system picking out to Mr. Much More Patient but accompanied him to the electronics store on an early mission to scope out the options. And here's out that went:
Mr. Much More Patient and sales guy: Blah, blah, blah, blah, LCD, blah, blah, blah 1080p, blah, blah, blah, remote, blah, blah, blah surround sound.
Sales guy: How does this sound system sound to you, Erin?
Me: Do the speakers come in white?
Sales guy: (Jaw drop)
Yeah, I wanted white speakers. I'm sorry but we just paid a lot of money to have our newly smoothed walls in the living room painted and you want me to stick a pair of black boxes on them? I don't think so.
So here's the deal we made: Mr. Much More Patient got to pick out a television (of a size I did not agree with) and all the necessary accoutrements with no input from me as long as he understood that I got to paint the speakers.
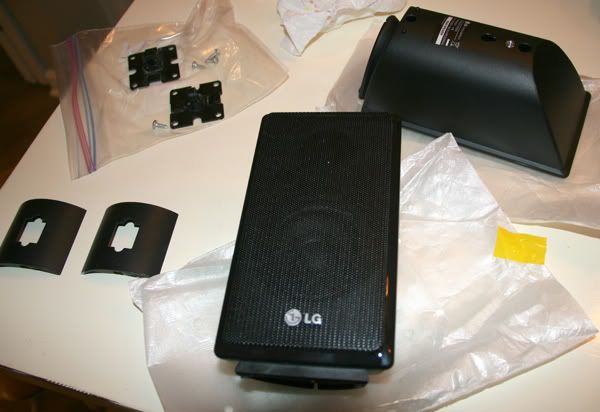 |
| New speakers ... straight out of the box! |
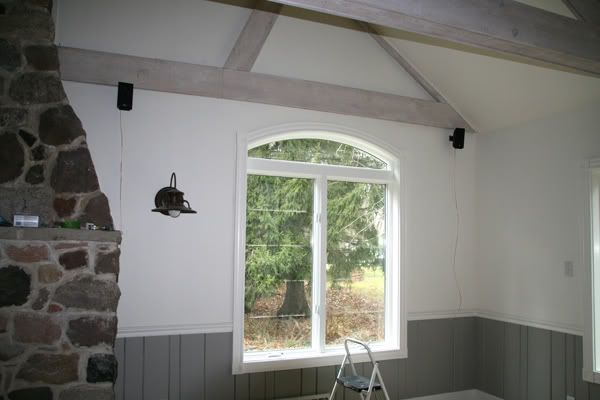 |
| They stick out like a sore thumb! |
Yep, paint them.
I'll be honest, I chickened out for awhile. It's one thing to take something old and give it new life with paint, but it's entirely different to take something brand new and do something to it that might make it great or might ruin it.
But it's been bugging me and I wanted to cross a lot of the little projects off my list this weekend. Well, that and Mr. Much More Patient is coming home soon and I'll never be able to do this if he's home.
So I did it. And here's how you can do it too.
First of all, I should mention that these were hardly top-of-the-line speakers. They were part of the "package" deal with the TV so they are probably not the best things in the world. Had they been something special I probably wouldn't have had the guts to do this. Also, they had a metal mesh on the front instead of fabric. I think I read that the speaker fabric comes in multiple colors so I would have explored that if it had been, but I lucked out by having a paintable surface. Also, it should be noted that I'm pretty sure painting your speakers voids the warranty, so keep that in mind before you break out the Krylon.
1. Figure out how to open up your speakers. This was by far the hardest part. I tried in vain to pry off the mesh cover for almost an hour before I got smart enough to start looking for screws. In my case, I had to take out two screws in the back and then another four on the inside to free the mesh screen from the working bits of the speaker.
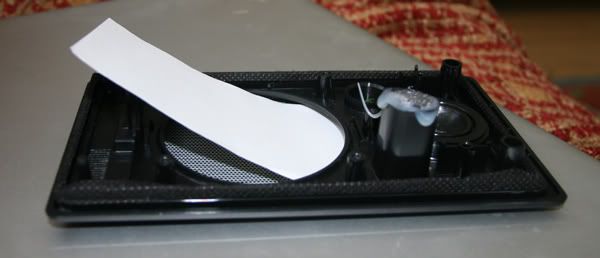 |
| I cut two pieces of paper to length then put them in the hole to protect the working bits from the paint coming through the mesh. |
2. Then I cut two pieces of paper to size and slid them in to prevent paint from transferring through the screen. I'm sure all speakers will vary in this, but the important part here is to cover anything that looks like it's important to the operation of the speaker.
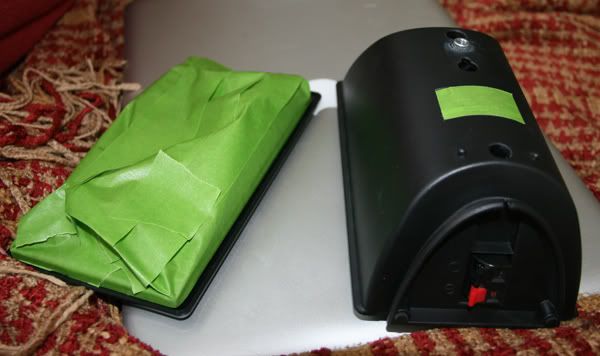 |
| If it looks important, put tape over it. I taped the label on the back of the speaker with the serial number, etc., on it. I also taped the area where the speaker wires go in on the bottom. |
3. Next, tape off anything that looks remotely important. Anywhere a wire goes in or gets connected to something needs to be masked off. Use the good tape and use lots of it, because if you screw up this step you'll be buying new speakers.
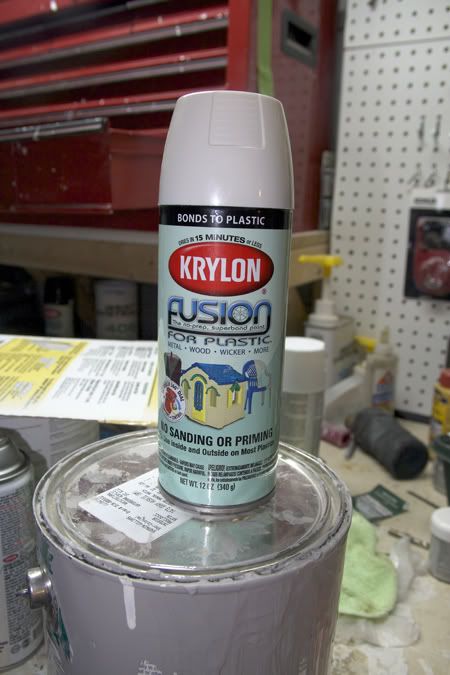 |
| The Krylon Fusion for plastic worked great: no priming, sanding or scuffing needed. |
4. Then just give it all a good spray paint. I used Krylon Fusion for plastic which requires no sanding or priming. Just make sure the surface is clean first, so if your speakers have been collecting dust for awhile it would probably be a good idea to clean them well first. The important thing is to not try to lay too much paint on at once. You want thin coatings vs. one thick one that is going to get runs and probably gum up something important.
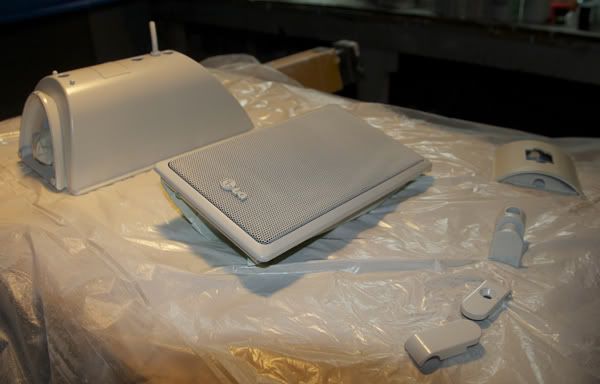 |
| Do several light coats of paint vs. one or two thick ones. |
5. I let it dry overnight for the first one and all day for the second (I did one first to make sure it would work before I ruined two speakers). Put it all back together and you're good to go!
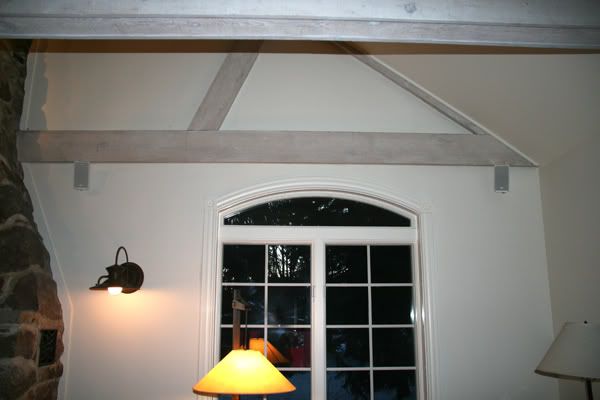 |
| And here's the after. You can still notice them but not nearly as much as when they were black. |
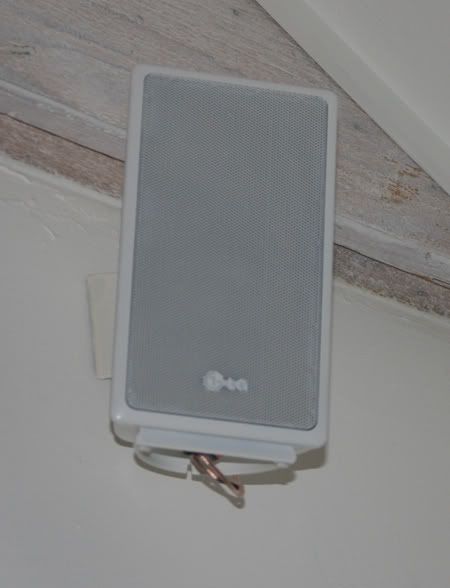 |
| A close-up of the speaker. I should have painted the speaker wires while I was at it. |
And that's it! I think it's far less distracting than the black. I realize this is small potatoes compared to some of the projects that people take on, but it was a big move for me to grab something that was perfectly fine and attempt to make it, well, finer.
What do you think? Ready to start spray painting random electronic equipment?
If you follow the blog on Facebook you could have been teased on this project for months. Don't you want to be teased and see my random ramblings? Of course you do! So check out the Facebook page and tell your friends.
Labels: before and after

