Construction update No. 6: A flurry of activity
We've moved into a phase of the house renovation project that doesn't have as many big changes so it feels like things have slowed a little, but in reality I think we're moving along at a pretty good pace.
Since the last update, they put on the soffits and the shingles started going on Monday morning. The project (not in the original plan) to straighten out the badly sloped roof is going well. After removing the ceiling in the living room, they essentially jacked up the roof and sistered (like my use of construction terms?) 2x8s on the existing 2x6s. It makes a huge difference from the outside and even though this was something we added onto the project at the last minute, I'm very happy we decided to do it.
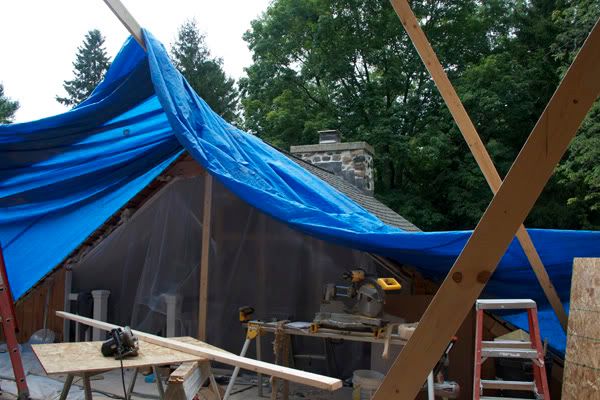
When I stopped out yesterday morning there was a flurry of activity going on. Masons, roofers and carpenters were all working. I was heartened to see so much happening. It gives me hope that soon this will all be over and we'll be back in our house where the plumbing works all the time, the furnace is dependable and I will be able to locate more of my wardrobe.
I think some of the guys thought it was pretty funny that I was running around with my tape measure yesterday, but it's a damn good thing I did. I found that the window in the bathroom had somehow "crept" over, leaving only 19 inches of space for a vanity (standard vanity depth is 21 inches). Because we're having a vanity built that isn't a huge deal, but it does become problematic to squeeze in the sink (which I already have) and the faucets and still have an appropriate amount of counter space left in front of and behind the sink. Guess what? This morning the GC told me they are moving the window two inches. So who's laughing at the girl with the tape measure now?
Onto the pictures!
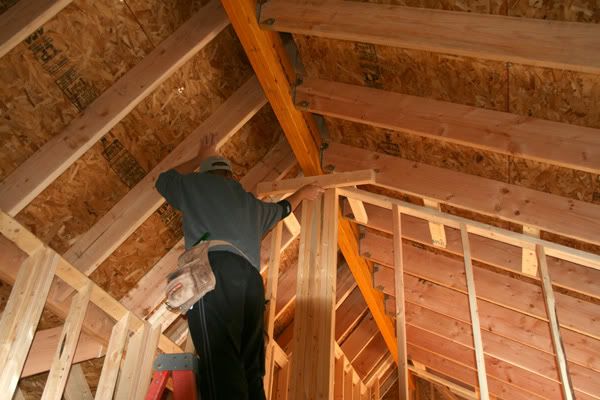
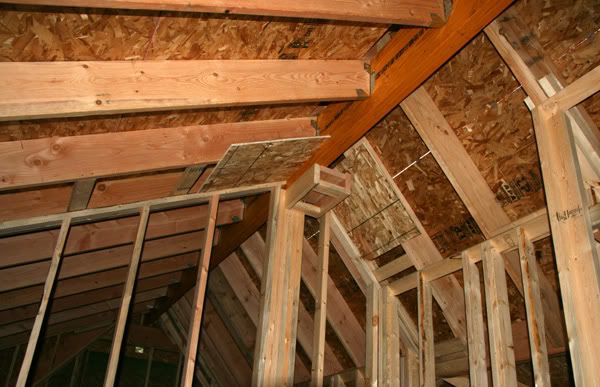
We spent a lot of time trying to decide how we should finish the ceiling in the bedrooms. Because the two roof pitches don't hit the center beam (which is not in the center of the bedrooms) at the same height we could either have a 26-inch wide flat spot on the ceiling (first picture) or build out a faux beam (second photo). After seeing both options we decided to go with the flat spot.
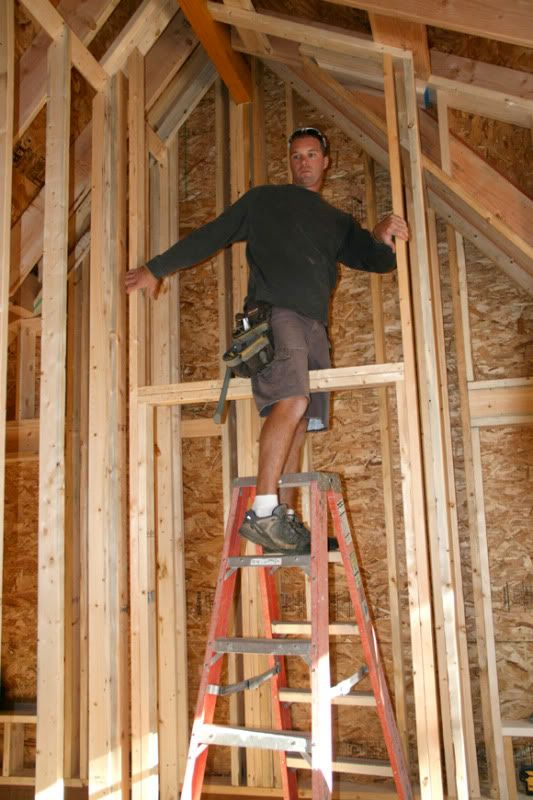
This next photo might be of the closet in the second bedroom. Or it might be a gratuitous picture of the carpenter. I guess it all depends on your point of view.
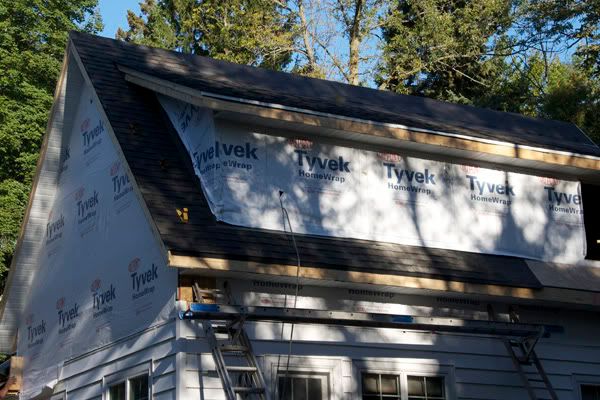
Not the best picture, but the new shingles are a totally inoffensive color, which I'm really happy about. Choosing a shingle color was harder than I expected it to be because it's very difficult to tell how they will look on different roofs. I would look at three houses with the same color of shingles (that the roof guy sent me to) and they would all look completely different. You can also see the roof extension underneath the shed dormer now which really helps break up that side of the house.
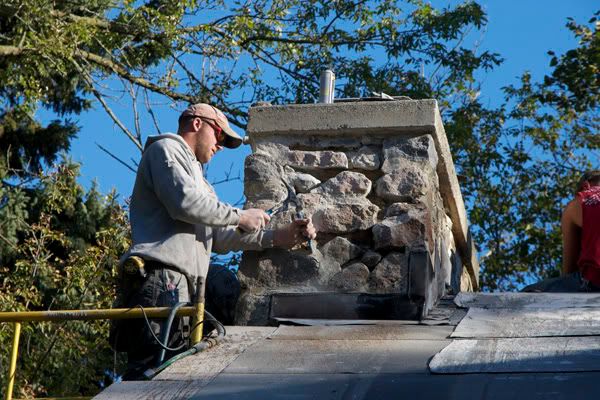
The masons were hard at work too. Our chimney is a good example of the importance of getting multiple quotes. Some of the mortar on the top was falling out. I would find big chunks of it in the garden. We called a chimney place that came highly recommended by a friend, and they came out and said that the top of the structure was compromised and top six feet of it needed to be taken apart and completely rebuilt to the tune of $6,000. After I picked my jaw up off the floor I called two other masons, both of whom disagreed and said that the mortar could simply be completely chipped out and new mortar put in (more complicated than just tuckpointing, but less than rebuilding) for a fraction of the cost of the first estimate. Because we identified this problem last fall, we went with the mason who agreed to charge us a little less if we were able to have the work done when he had a hole in his schedule, which was no problem for us. That hole just happened to be yesterday.
Lots of pretty unexciting things happening for awhile now: rough-ins for electrical and plumbing, HVAC stuff, insulation (although that will be a little exciting because we're getting spray foam), and a few other things. We need to meet with the cabinet maker soon too to start the design work on the vanity and linen area.
If you're interested in following the remodeling process so far, check out our past updates:
Construction Update 1
Construction Update 2
Construction Update 3
Construction Update 4
Construction Update 5
Since the last update, they put on the soffits and the shingles started going on Monday morning. The project (not in the original plan) to straighten out the badly sloped roof is going well. After removing the ceiling in the living room, they essentially jacked up the roof and sistered (like my use of construction terms?) 2x8s on the existing 2x6s. It makes a huge difference from the outside and even though this was something we added onto the project at the last minute, I'm very happy we decided to do it.
When I stopped out yesterday morning there was a flurry of activity going on. Masons, roofers and carpenters were all working. I was heartened to see so much happening. It gives me hope that soon this will all be over and we'll be back in our house where the plumbing works all the time, the furnace is dependable and I will be able to locate more of my wardrobe.
I think some of the guys thought it was pretty funny that I was running around with my tape measure yesterday, but it's a damn good thing I did. I found that the window in the bathroom had somehow "crept" over, leaving only 19 inches of space for a vanity (standard vanity depth is 21 inches). Because we're having a vanity built that isn't a huge deal, but it does become problematic to squeeze in the sink (which I already have) and the faucets and still have an appropriate amount of counter space left in front of and behind the sink. Guess what? This morning the GC told me they are moving the window two inches. So who's laughing at the girl with the tape measure now?
Onto the pictures!
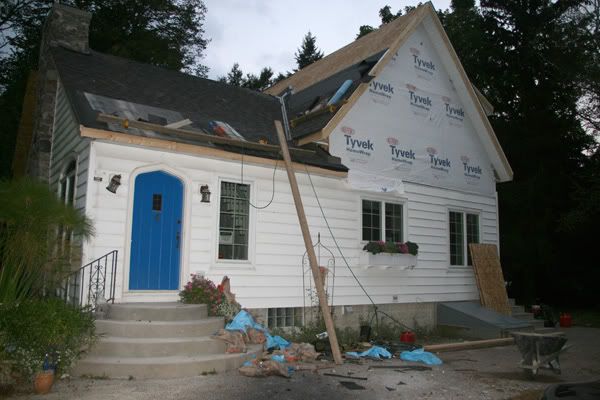 |
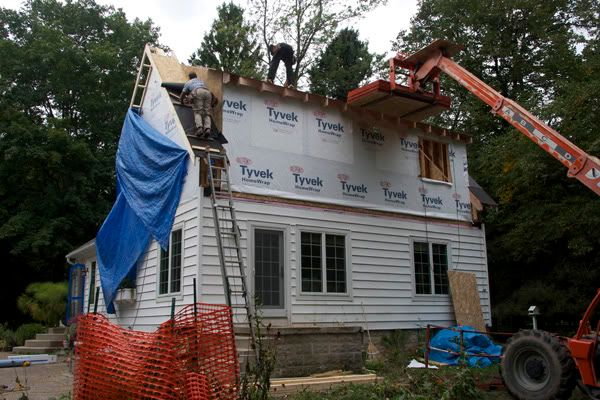
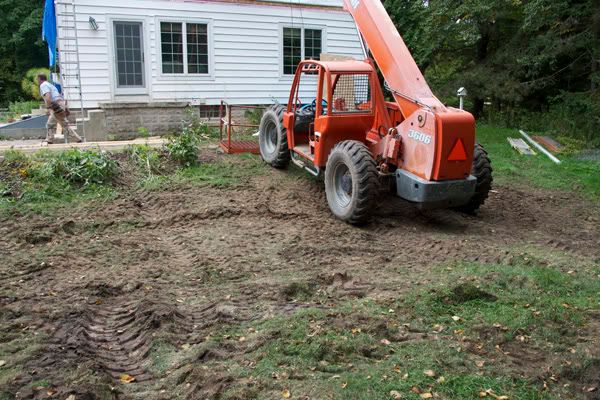
| Here's what the front of the house is looking like these days. It was evening but I was finally able to take a picture of the full front of the house without a truck parked in front of it. |
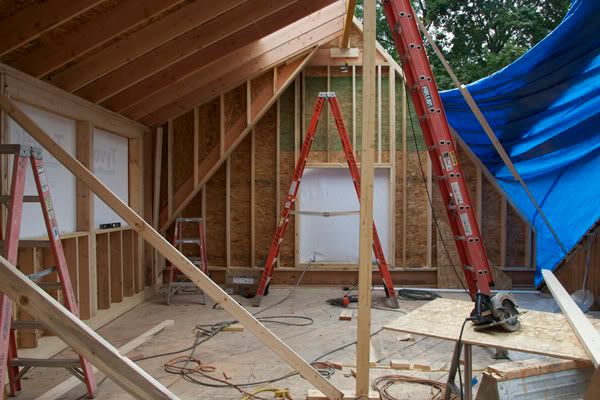
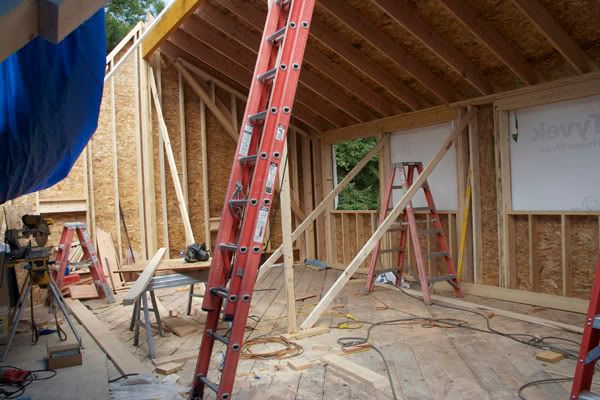
We spent a lot of time trying to decide how we should finish the ceiling in the bedrooms. Because the two roof pitches don't hit the center beam (which is not in the center of the bedrooms) at the same height we could either have a 26-inch wide flat spot on the ceiling (first picture) or build out a faux beam (second photo). After seeing both options we decided to go with the flat spot.


This next photo might be of the closet in the second bedroom. Or it might be a gratuitous picture of the carpenter. I guess it all depends on your point of view.

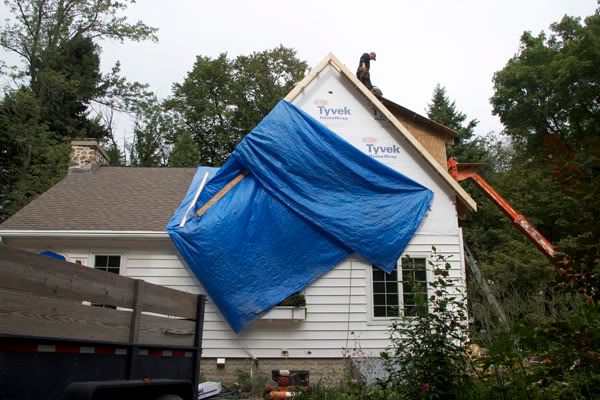
Not the best picture, but the new shingles are a totally inoffensive color, which I'm really happy about. Choosing a shingle color was harder than I expected it to be because it's very difficult to tell how they will look on different roofs. I would look at three houses with the same color of shingles (that the roof guy sent me to) and they would all look completely different. You can also see the roof extension underneath the shed dormer now which really helps break up that side of the house.

The masons were hard at work too. Our chimney is a good example of the importance of getting multiple quotes. Some of the mortar on the top was falling out. I would find big chunks of it in the garden. We called a chimney place that came highly recommended by a friend, and they came out and said that the top of the structure was compromised and top six feet of it needed to be taken apart and completely rebuilt to the tune of $6,000. After I picked my jaw up off the floor I called two other masons, both of whom disagreed and said that the mortar could simply be completely chipped out and new mortar put in (more complicated than just tuckpointing, but less than rebuilding) for a fraction of the cost of the first estimate. Because we identified this problem last fall, we went with the mason who agreed to charge us a little less if we were able to have the work done when he had a hole in his schedule, which was no problem for us. That hole just happened to be yesterday.

Lots of pretty unexciting things happening for awhile now: rough-ins for electrical and plumbing, HVAC stuff, insulation (although that will be a little exciting because we're getting spray foam), and a few other things. We need to meet with the cabinet maker soon too to start the design work on the vanity and linen area.
If you're interested in following the remodeling process so far, check out our past updates:
Construction Update 1
Construction Update 2
Construction Update 3
Construction Update 4
Construction Update 5
posted by Erin @ The Impatient Gardener at
10:15 AM
2 Comments
![]()
![]()