ENJOY YOUR GARDEN PATH & THE INEVITABLE MAINTENANCE
Sometimes I am tempted to create more gardens (which I absolutely do not need) simply to create more garden paths. I don’t know why I have a love affair with paths, but I collect pictures of them and ideas for future paths with the same zeal that I collect garden ideas.
My tastes in paths are nondiscriminatory. I love them whether they are made from flagstone, brick, gravel, wood, grass and sometimes concrete. And I particularly like paths that are featured multiple materials. What I’m finding, though, is that other than those made of a solid surface, paths all need maintenance. And the more material mixing you do, the more maintenance they need.
Few kinds of paths have my heart like flagstone paths. I’m particularly a fan of flagstone with moss or another durable, “steppable” ground cover growing between the rocks. In one of the early iterations of the path to the garage (which back then was just a path through the garden opening onto the lawn), I tried this and year after year the ground cover failed. I tried Irish moss, creeping thyme and a handful of other plants and although all of them would thrive in summer, none could handle what our Wisconsin winter had in store for them. That’s really no surprise as we were asking for a Herculean effort from them. This was a path that was regularly trod upon (i.e compaction is a factor), shoveled (no plant wants that) and frozen and thawed (the stones would heat up in the winter sun) repeatedly.
When I extended the path all the way to the garage a few years ago as part of a complete renovation of that part of the yard following the renovation of our house, I embraced a new design: The same flagstones (although mixed with recycled bluestone from my grandmother’s house) with small gravel between the stones. I laid a thick base of limestone screenings (also called road base in some places), set the stones on it and filled in with gravel (you can read about the process here and see what it looked like right after I finished it here).
Up until now, the maintenance has consisted of just topping off the gravel from time to time and using my weed torch to knock out any small weeds that might pop up. This year, however, the weeds have been healthier and I was somewhat lax about keeping up with frequent weed burning missions. Weed burners are fabulous for a lot of applications, but they work best when you are killing small weeds frequently, rather than trying to take out well-established plants.
When I resigned myself a few weekends ago to take on the path maintenance project I’ve been putting off for months and started trying to hand pull weeds, I found that the reason they were all growing so well is because there was a lot of soil in all that gravel. And that is the issue with so many paths. Even when you take care to prevent weeds from growing in cracks, dirt gets in there and then you’ve lost the battle.
And as far as I can tell, there is no way to prevent this. Landscape fabric certainly doesn’t work because soil just gathers on top of it. It gets there by wind, messy gardening, blown in by the lawn mower, but mostly, I’m guessing, from plant material getting on the path and breaking down. In other words, it’s basically making compost.
The story of what happened next with my path isn’t particularly exciting or illuminating, and it’s certainly no “Quick tip for path maintenance.” I flipped up every stone, dug up the all of the gravel/soil mixture surrounding it and reset it (which wasn’t difficult as the limestone screening base seems as good as ever). Then I came back and refilled the cracks. Fortunately we got way too much gravel delivered when I did the paths in the circle garden this spring so I had plenty left.
I should clarify. I’m only about halfway through this project. It’s boring and laborious, so I’ve been taking it in chunks and hope to finish it up before the end of the month.
But here are my takeaways about garden paths:
If you're curious about my weed torch, which is one of my favorite ways to tackle weeds, here's the setup I use. These are links to the products on Amazon and if you buy from them I may receive a small commission to help support my plant habit! Thanks for your support.
My tastes in paths are nondiscriminatory. I love them whether they are made from flagstone, brick, gravel, wood, grass and sometimes concrete. And I particularly like paths that are featured multiple materials. What I’m finding, though, is that other than those made of a solid surface, paths all need maintenance. And the more material mixing you do, the more maintenance they need.
Few kinds of paths have my heart like flagstone paths. I’m particularly a fan of flagstone with moss or another durable, “steppable” ground cover growing between the rocks. In one of the early iterations of the path to the garage (which back then was just a path through the garden opening onto the lawn), I tried this and year after year the ground cover failed. I tried Irish moss, creeping thyme and a handful of other plants and although all of them would thrive in summer, none could handle what our Wisconsin winter had in store for them. That’s really no surprise as we were asking for a Herculean effort from them. This was a path that was regularly trod upon (i.e compaction is a factor), shoveled (no plant wants that) and frozen and thawed (the stones would heat up in the winter sun) repeatedly.
 |
| This is the area of the path that I've already cleaned up this year. Blissfully weed free. |
When I extended the path all the way to the garage a few years ago as part of a complete renovation of that part of the yard following the renovation of our house, I embraced a new design: The same flagstones (although mixed with recycled bluestone from my grandmother’s house) with small gravel between the stones. I laid a thick base of limestone screenings (also called road base in some places), set the stones on it and filled in with gravel (you can read about the process here and see what it looked like right after I finished it here).
Up until now, the maintenance has consisted of just topping off the gravel from time to time and using my weed torch to knock out any small weeds that might pop up. This year, however, the weeds have been healthier and I was somewhat lax about keeping up with frequent weed burning missions. Weed burners are fabulous for a lot of applications, but they work best when you are killing small weeds frequently, rather than trying to take out well-established plants.
When I resigned myself a few weekends ago to take on the path maintenance project I’ve been putting off for months and started trying to hand pull weeds, I found that the reason they were all growing so well is because there was a lot of soil in all that gravel. And that is the issue with so many paths. Even when you take care to prevent weeds from growing in cracks, dirt gets in there and then you’ve lost the battle.
 |
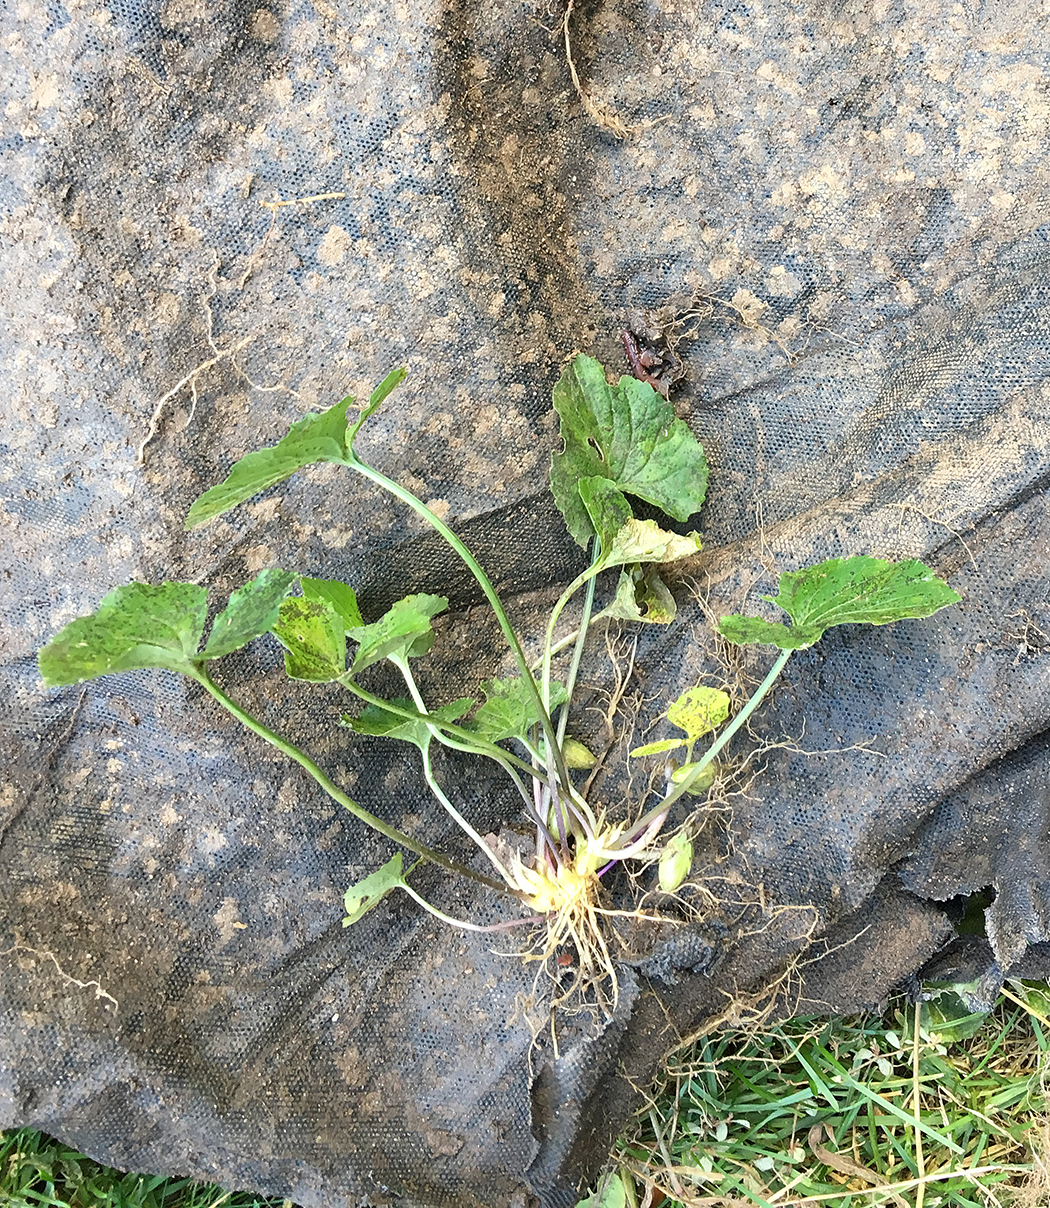
| The areas that I haven't gotten to yet are not nearly so nice. Grass, both from the lawn and nearby ornamental grasses, dandelions and all manor of other weeds have taken a firm hold in what used to be gravel but is now mostly soil. |
And as far as I can tell, there is no way to prevent this. Landscape fabric certainly doesn’t work because soil just gathers on top of it. It gets there by wind, messy gardening, blown in by the lawn mower, but mostly, I’m guessing, from plant material getting on the path and breaking down. In other words, it’s basically making compost.
The story of what happened next with my path isn’t particularly exciting or illuminating, and it’s certainly no “Quick tip for path maintenance.” I flipped up every stone, dug up the all of the gravel/soil mixture surrounding it and reset it (which wasn’t difficult as the limestone screening base seems as good as ever). Then I came back and refilled the cracks. Fortunately we got way too much gravel delivered when I did the paths in the circle garden this spring so I had plenty left.
I should clarify. I’m only about halfway through this project. It’s boring and laborious, so I’ve been taking it in chunks and hope to finish it up before the end of the month.
But here are my takeaways about garden paths:
- Unless it's a solid surface, such as poured or stamped concrete, all paths will require maintenance, and even those will probably need power washing once or twice a year.
- If you do have a path that requires maintenance, do a little bit frequently, rather than waiting until it becomes a big project. Staying on top of my weed burning could have put this big job off a year or more.
- Consider your climate and how frequently you'll use the path when you decide what material to use. Maintenance is one thing but completely redoing a path is expensive and time consuming.
If you're curious about my weed torch, which is one of my favorite ways to tackle weeds, here's the setup I use. These are links to the products on Amazon and if you buy from them I may receive a small commission to help support my plant habit! Thanks for your support.
Labels: gravel path, path, weeds
posted by Erin @ The Impatient Gardener at
10:28 AM
3 Comments
![]()
![]()